


Roof tear-off and installation usually take place over several coordinated stages, from protecting the property and removing old materials to inspecting the roof deck and installing new underlayment, shingles, and flashing. Knowing what happens at each stage makes the work easier to plan for and helps homeowners recognize normal progress versus problems that need attention.
How should a homeowner prepare before the work begins?
The most useful preparation involves clearing access, protecting fragile household items, and planning for noise and limited driveway use. A roofing project can affect areas around the house even when the crew works efficiently.
Before work starts, consider these steps:
- Move vehicles, bicycles, outdoor furniture, grills, and children’s toys away from the house.
- Protect items stored in the attic, especially valuables or objects that could be affected by vibration and dust.
- Remove wall decorations or fragile items from upper floors if they are loosely mounted.
- Keep pets indoors and children away from work areas.
- Make sure gates and exterior access points are available.
- Plan for loud noise during the tear-off and installation periods.
In Dexter, seasonal weather can change quickly. A roof replacement may be scheduled during a generally favorable weather period but still require adjustments for rain, wind, freezing temperatures, or wet surfaces. Materials should not be installed over a damp or unsafe roof surface.
What happens during the roof tear-off?
The tear-off is the removal of existing roofing materials down to the underlying roof deck, or to a stable layer that can safely remain. It is typically the loudest and messiest part of the project.
Workers usually begin by placing protective materials around the house. These may include tarps, plywood, ground mats, or temporary coverings over landscaping and exterior features. Shingles are then removed with roofing tools and lowered or carried to a disposal area.
The tear-off may expose several layers, such as:
- Asphalt shingles
- Underlayment or felt
- Ice-barrier materials
- Flashing around penetrations and roof edges
- Older roofing materials from previous replacements
A common misconception is that a roof can always be covered with another layer of shingles without removing the old one. In some situations, limited re-roofing may be permitted, but adding layers can conceal damaged decking, worn flashing, moisture problems, or poor ventilation. Local building requirements and the roof’s condition determine whether removal is necessary.
Why is the roof deck inspected?
The roof deck is the structural surface beneath the underlayment and shingles. It must be sound enough to support the new roofing system and hold fasteners securely.
After the old roofing is removed, the deck can be inspected for:
- Soft or spongy areas
- Water staining or rot
- Delaminated plywood
- Cracked or broken boards
- Gaps, raised edges, or loose fasteners
- Damage around chimneys, vents, skylights, and roof valleys
Deck damage is often hidden until the old materials come off. That means the final work may differ slightly from the original plan if concealed deterioration is found. Replacing unsound decking is not simply a cosmetic improvement; fasteners may not hold properly in weak material, and the finished roof may not lie flat.
Moisture damage does not always mean the entire roof has failed. A localized problem near a vent, valley, chimney, or roof edge may affect only a limited area. The cause of the moisture intrusion should still be addressed so replacement materials are not installed over an active leak.
What are underlayment and ice-barrier materials for?
Underlayment is a water-resistant layer installed between the roof deck and the shingles. It provides secondary protection if wind-driven rain reaches beneath the shingles.
Ice-barrier material is designed to help protect vulnerable roof areas from water that can collect when snow melts and refreezes near colder roof edges. This concern is especially relevant in climates with winter snow, freeze-thaw cycles, and changing temperatures.
Installation details vary by roof design and applicable building requirements. Areas that often receive additional protection include:
- Eaves and lower roof edges
- Valleys where two roof slopes meet
- Roof penetrations
- Transitions between different roof sections
- Locations with a history of leakage
Underlayment is not a substitute for properly installed shingles, flashing, drainage, and ventilation. It is one part of a complete roof system.
How are flashing, vents, and roof edges handled?
Flashing directs water away from joints and penetrations where roofing materials meet other surfaces. It may be found around chimneys, wall intersections, skylights, plumbing vents, and roof valleys.
During replacement, existing flashing may be reused only if it is in suitable condition and compatible with the new installation. Damaged, corroded, poorly shaped, or incorrectly placed flashing can become a source of leaks even when the shingles themselves are new.
Roof vents are also inspected during installation. Proper ventilation helps manage heat and moisture in the attic, but more ventilation is not automatically better. Intake and exhaust openings need to work together, and blocked soffit areas or improperly installed vents can limit airflow.
Roof edges receive close attention because wind and water exposure are greatest there. Drip-edge materials, starter shingles, and secure fastening help protect the lower edges and rakes of the roof.
What happens during shingle installation?
Once the deck, underlayment, flashing, and ventilation details are ready, the visible roofing materials are installed. Shingles are placed in overlapping courses so water flows downward rather than beneath the roofing system.
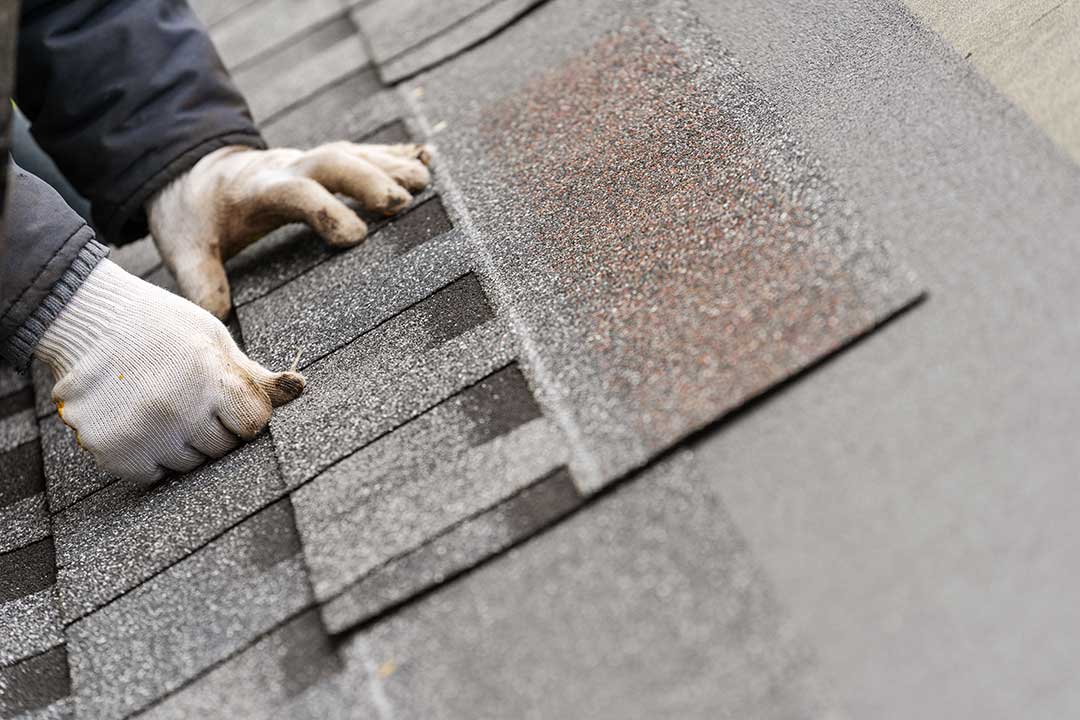
Installation generally includes:
- Starter materials along roof edges
- Shingles across the main roof surface
- Valley treatment where roof slopes meet
- Vent and pipe flashing around penetrations
- Ridge-cap shingles or other ridge-covering materials
- Final sealing and fastening checks
Temperature affects how quickly some asphalt shingles seal. In cooler conditions, factory-applied adhesive strips may take longer to bond fully. Wind, dust, shaded roof sections, and cold weather can also affect the timing of this process.
A new roof may not look perfectly uniform immediately. Shingle color can appear different across shaded and sunny areas, and surface granules may settle during the first days after installation. Those observations are not necessarily signs of a defect, although loose materials, exposed fasteners, lifted shingles, or visible gaps should be reviewed.
How long does a roof replacement take?
Many straightforward roof replacements can be completed in a day or several days, but the schedule depends on roof size, pitch, complexity, weather, material availability, deck repairs, and the number of existing layers.
Work may take longer when a home has:
- Multiple roof sections
- Steep or difficult-to-access slopes
- Several valleys or dormers
- Skylights or masonry chimneys
- Extensive decking damage
- Tight property access
- Weather interruptions
The tear-off and installation may not happen continuously if rain or high winds make the roof unsafe or could compromise exposed materials. Temporary coverings may be used when an unfinished roof must be protected overnight.
What should happen during cleanup and final inspection?
Cleanup should include removing roofing debris from the ground, checking landscaping and paved areas, collecting loose fasteners, and inspecting gutters and downspouts for accumulated granules or debris.
A final inspection should look beyond the roof’s appearance. Useful items to review include:
- Whether shingles are aligned and properly fastened
- Whether flashing is installed at penetrations and wall intersections
- Whether ridge and intake ventilation remain unobstructed
- Whether gutters and downspouts are clear
- Whether attic areas show signs of active moisture
- Whether cleanup around the property is complete
Because roof work involves heights, sharp materials, exposed openings, and changing weather, unsafe conditions should not be handled casually. A qualified roofing professional may be necessary when structural damage, electrical hazards, chimney problems, active leaks, or difficult access are involved.
For households in Dexter, careful planning around winter weather, summer storms, landscaping, and driveway access can make the process more predictable. The finished roof is only one part of the result; proper deck preparation, water management, ventilation, fastening, and cleanup are equally important to long-term performance.